Getting Started with PuttrLab

You can be up and running with PuttrLab in about 10 minutes. Here's everything you need to know.

What You Need

1. An iPhone with PuttrLab Installed

Download PuttrLab from the App Store — it's free. Requires iPhone 12 or later running iOS 17+. You can unlock PuttrLab Pro at any time with a one-time $19.99 in-app purchase.

2. A Phone Tripod

You need a tripod or mount that can hold your iPhone in landscape orientation with the camera angled downward. Most adjustable phone tripods on Amazon in the $15–$20 range work well.

  • Must hold an iPhone securely in landscape mode
  • Must be adjustable so the camera can point straight down or nearly straight down
  • Should be stable enough not to wobble during your stroke

Recommended tripods:

3. A PuttrLab Tracking Marker

Download our free marker PDF, print it on pure white cardstock, cut it out, and attach it to your putter with double-sided tape. Print quality matters — see the marker attachment section below for full instructions and tips.

How to Attach the Tracking Marker


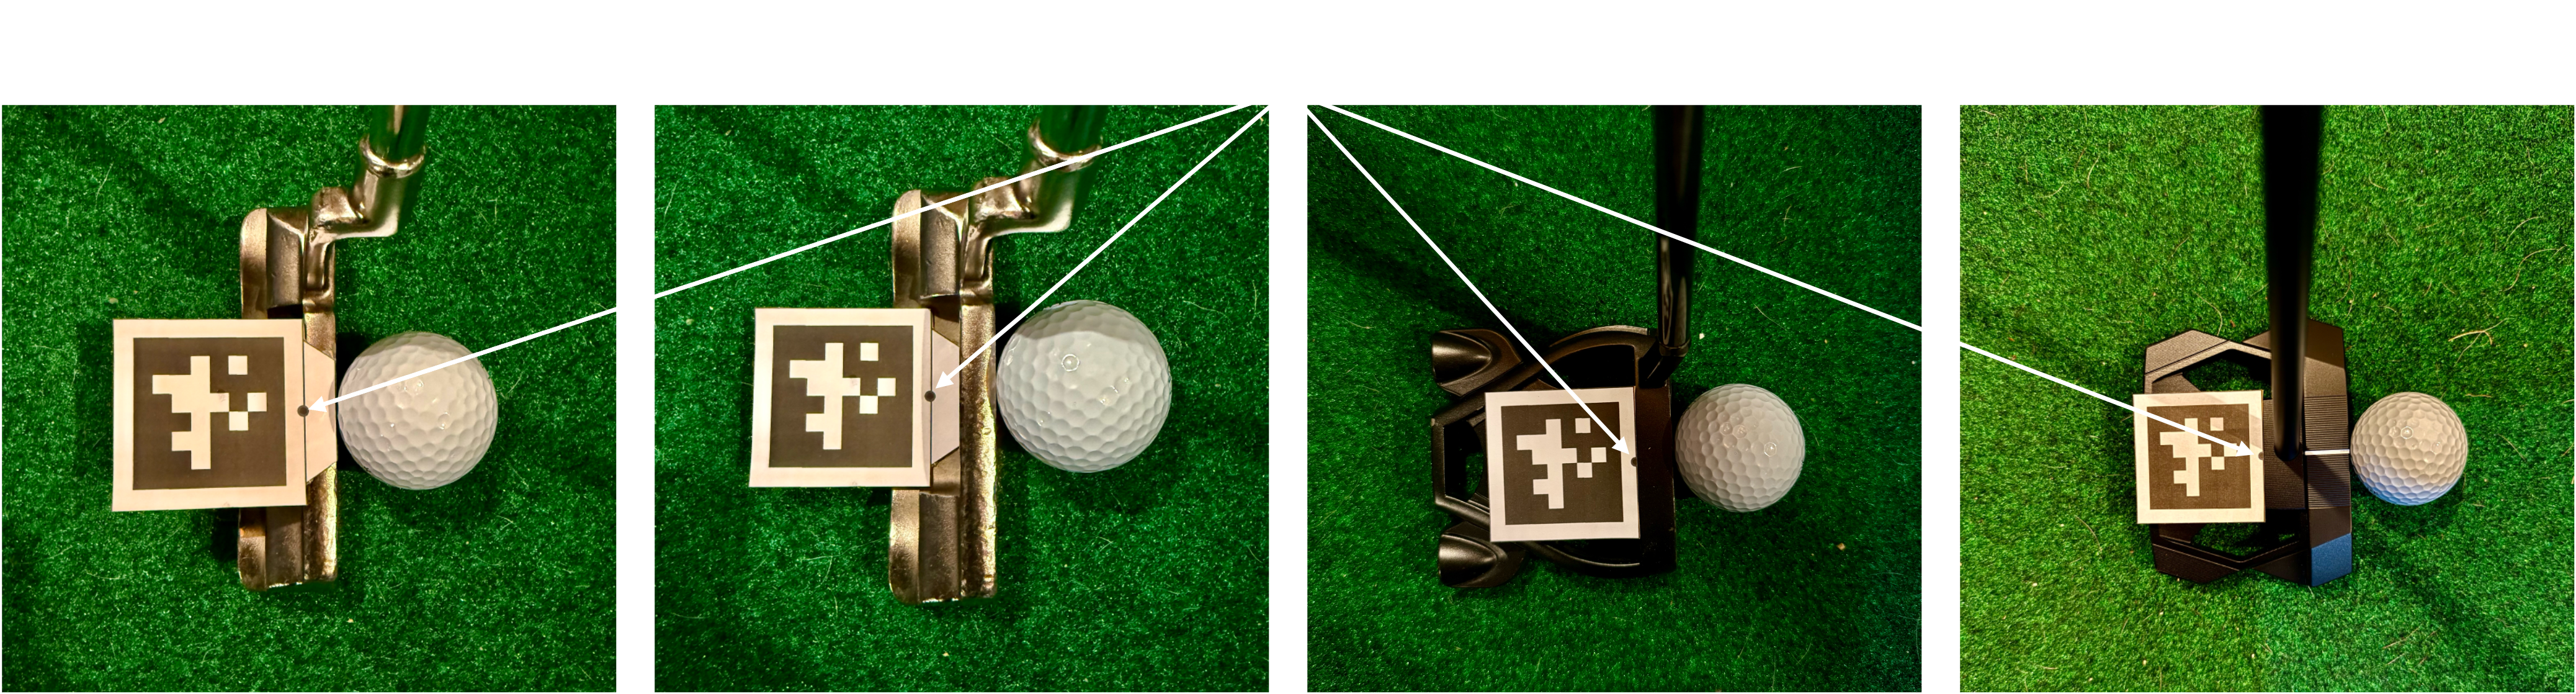
The marker attaches to the top of your putter head — the flat surface you see when you look down at address. It works with both blade and mallet style putters. The black dot must be closest to the putter face or metrics will be inaccurate.

Printing and Attaching Your Marker

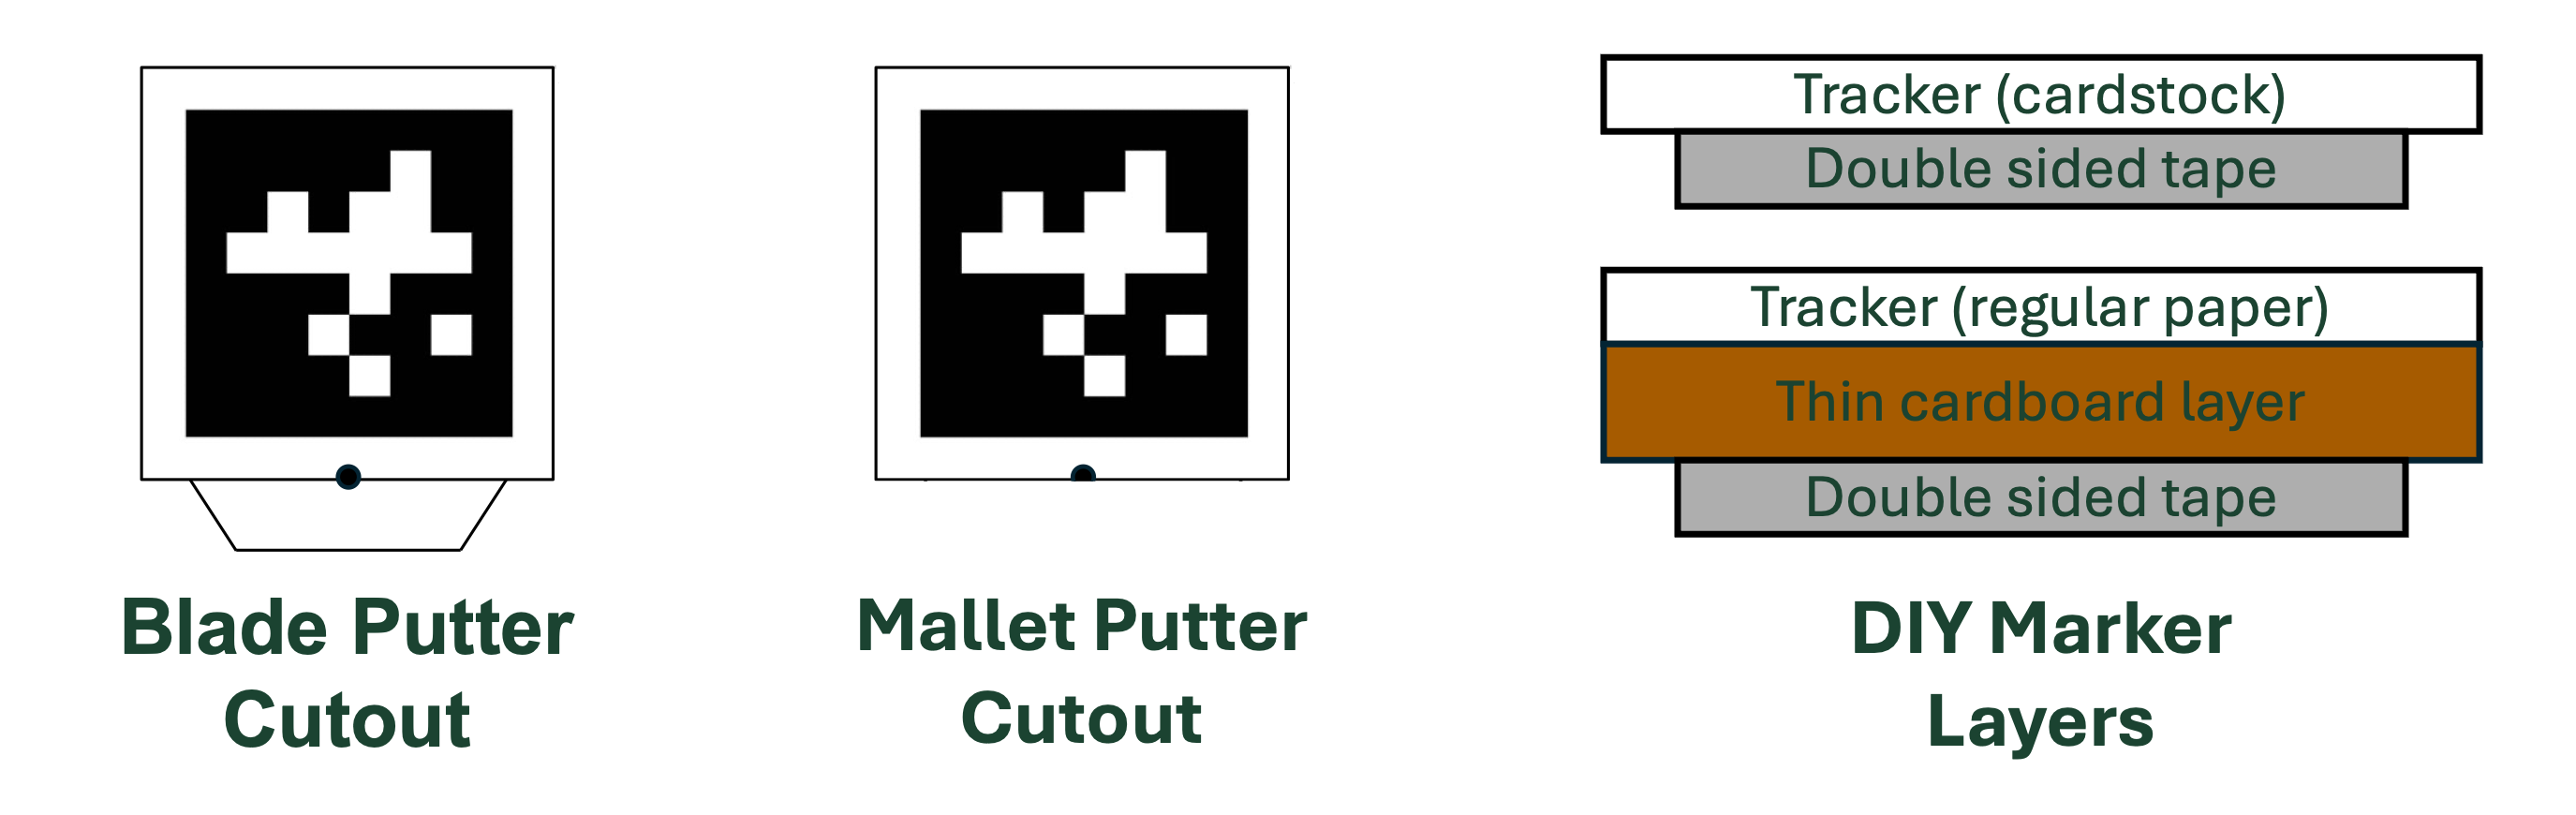
Print the marker PDF on pure white cardstock, or print on regular paper and secure it to a piece of thin cardboard for rigidity. The printing quality must be high for the tracking to work effectively (no smudges, streaks, lines, fading, etc.). Cut out the marker precisely along the thin black line — the white border around the black pattern is part of the marker and must be included. Apply a piece of double-sided tape to the back, then press it firmly onto the top of your putter head with no bubbles or lifted edges. The tab at the bottom is intended for blade style putters and can be cut off if it's not needed.

Tips for Best Results

Download Printable Marker PDF

Tripod Positioning


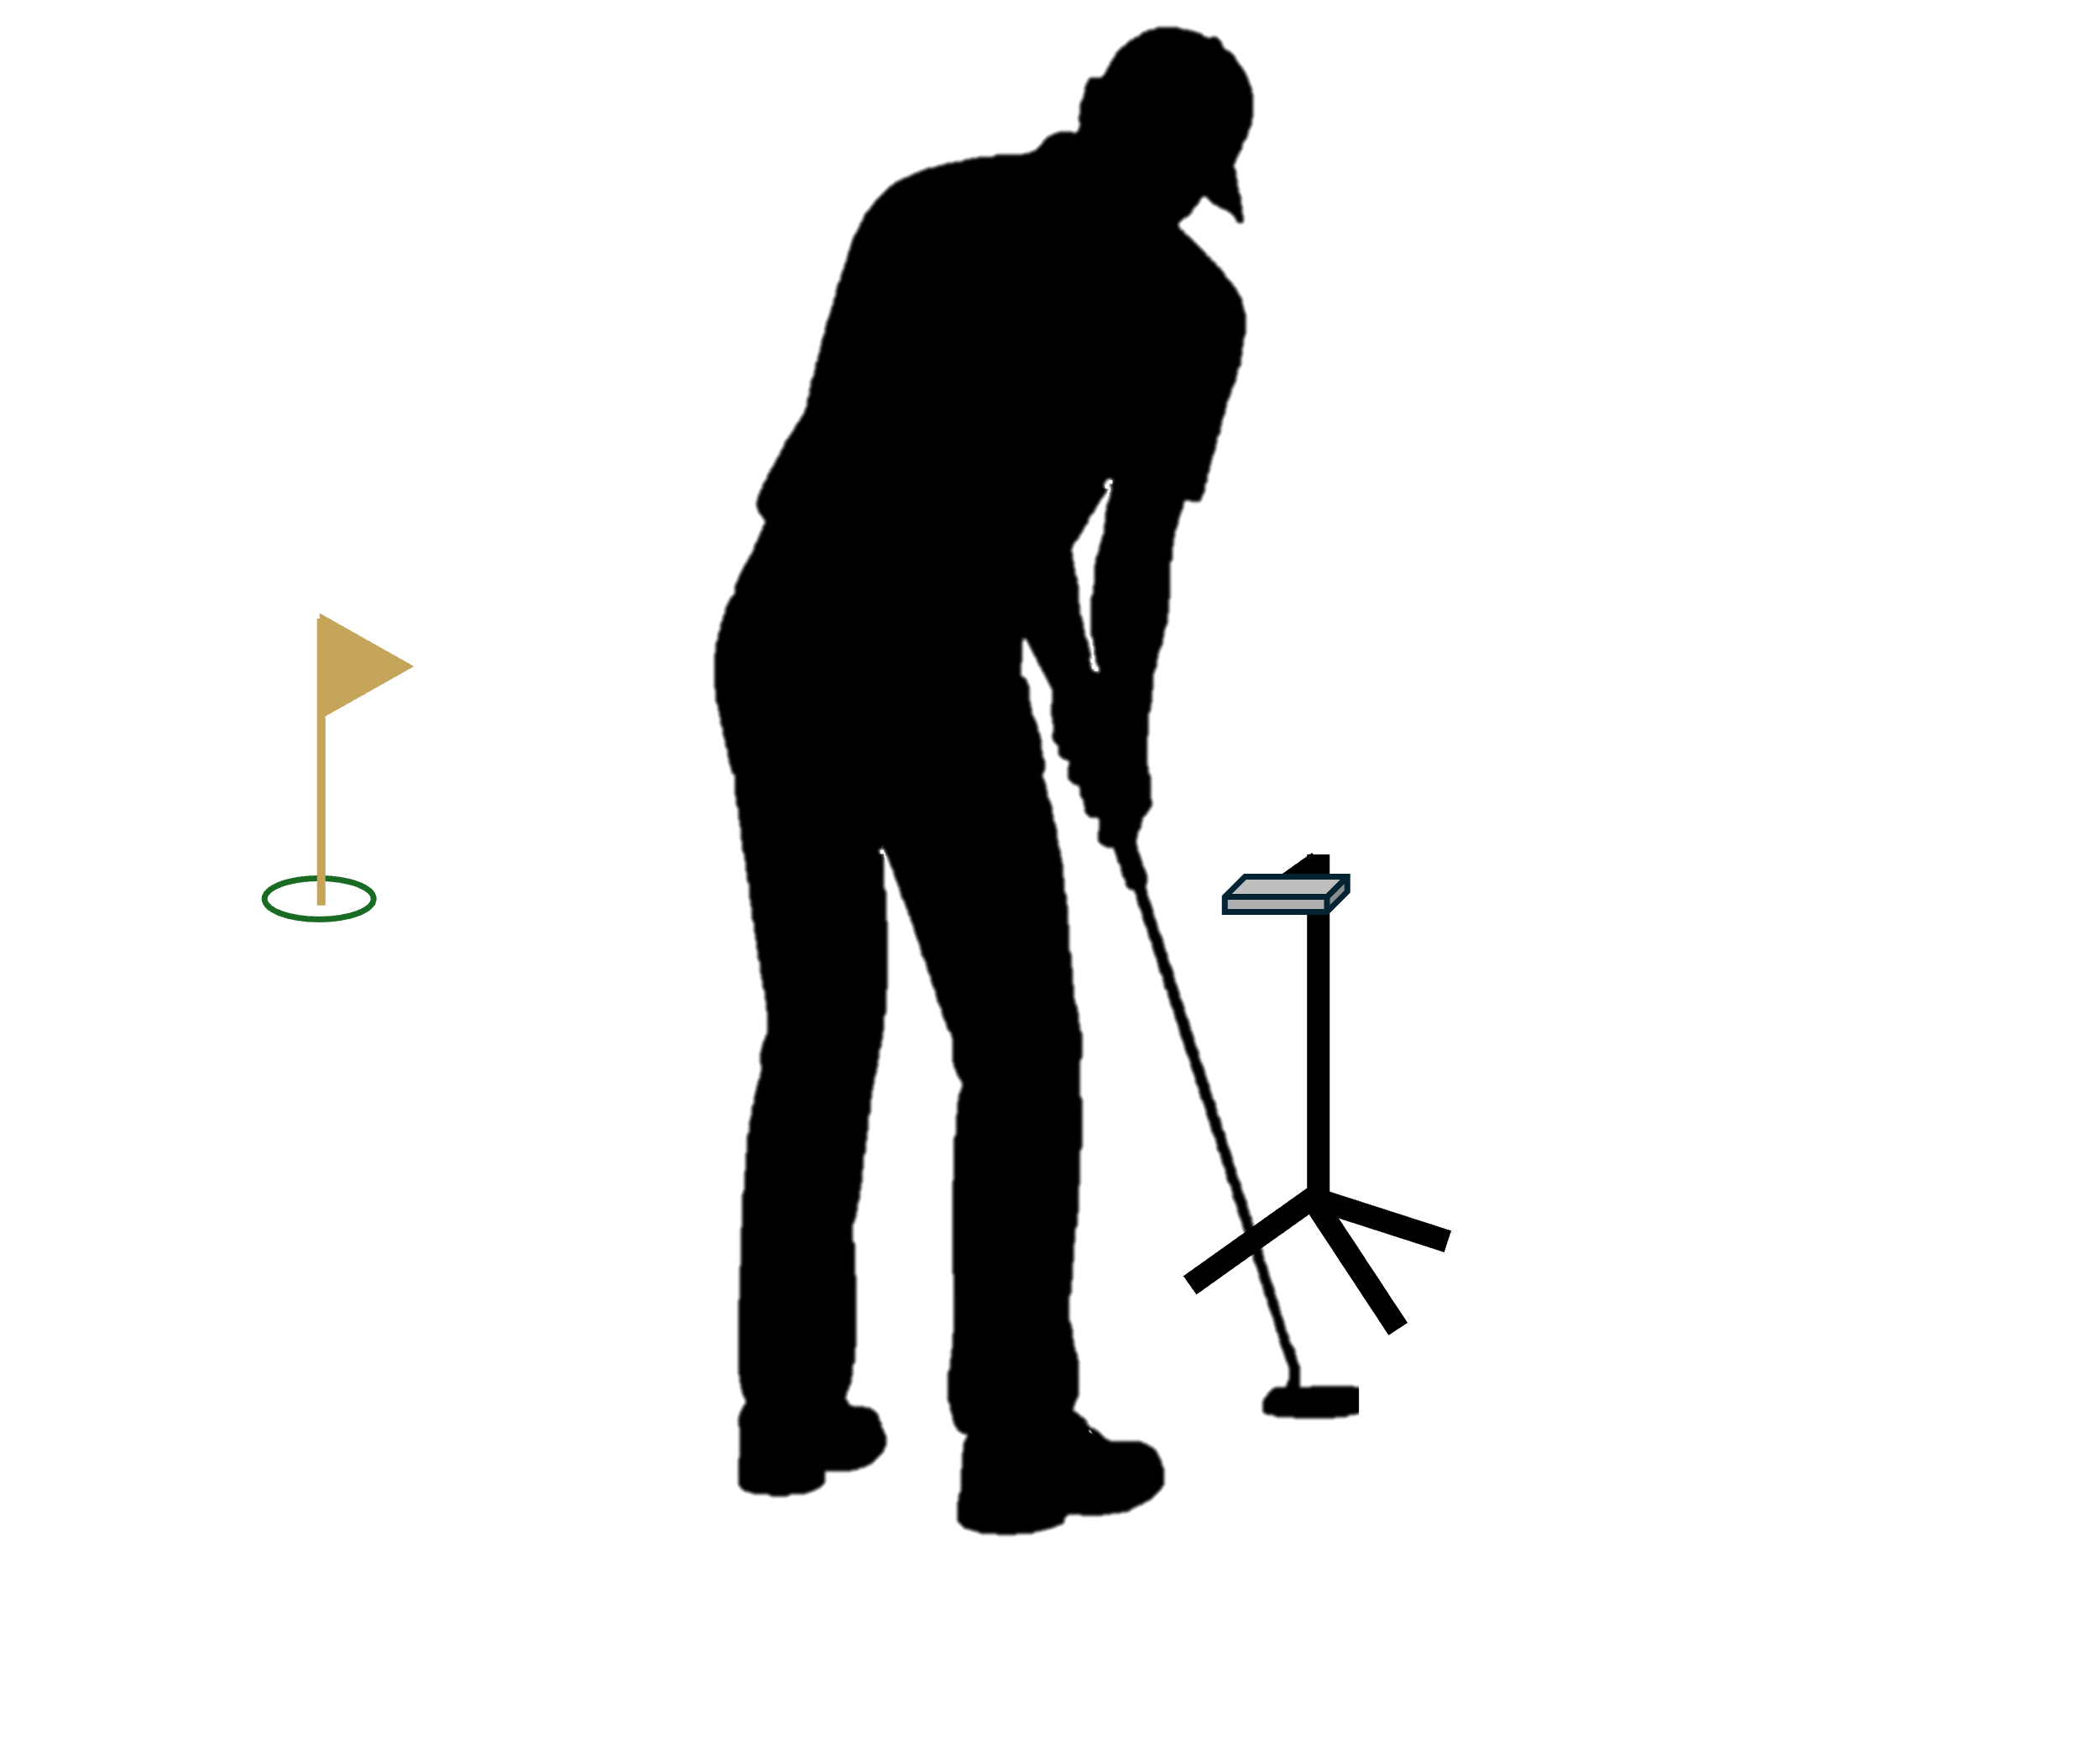
Set your tripod behind where you will stand to putt, with the phone mounted in landscape orientation and the camera facing straight down at the ground.

Key Positioning Guidelines

Quick test: Before starting a session, take a few practice strokes while watching the live camera preview in the app. Confirm that the marker stays fully visible throughout the entire stroke. Adjust the tripod height or position if the marker goes out of frame at any point.

Running Your First Session


  1. Open PuttrLab and allow camera access when prompted.
  2. In the free version, sessions are pre-configured (3 putts, 8 seconds between putts, 4-second putt window) — just tap to start. With PuttrLab Pro, you can configure the number of putts, timing, and add a session tag before you begin.
  3. Position yourself at address and check the camera preview — you should see a live feed with the marker in view of the camera. Ensure the camera is level for highest metric accuracy (you can use the Measure app to ensure the phone is level).
  4. When the app confirms the marker is detected, you're ready to go.
  5. Putt naturally. The app will automatically detect each stroke and record the metrics.
  6. After each putt, the metrics will be displayed on the screen. At the end of a session, the session averages will be displayed.
  7. Pro only: Every session is saved automatically. Tap View Data on the home screen to see your metrics charted over time — session by session or date by date — along with personalized coaching tips based on your averages.

Tips for Accurate Sessions

Watch the Full Setup Tutorial

Prefer to watch? Our YouTube tutorial walks you through the entire process — from unboxing your marker to completing your first putting session.

Ready to Go?

PuttrLab is free to download. Upgrade to Pro inside the app whenever you want the full set of metrics, trend tracking, and coaching tips.

Download on the App Store Download Marker PDF